

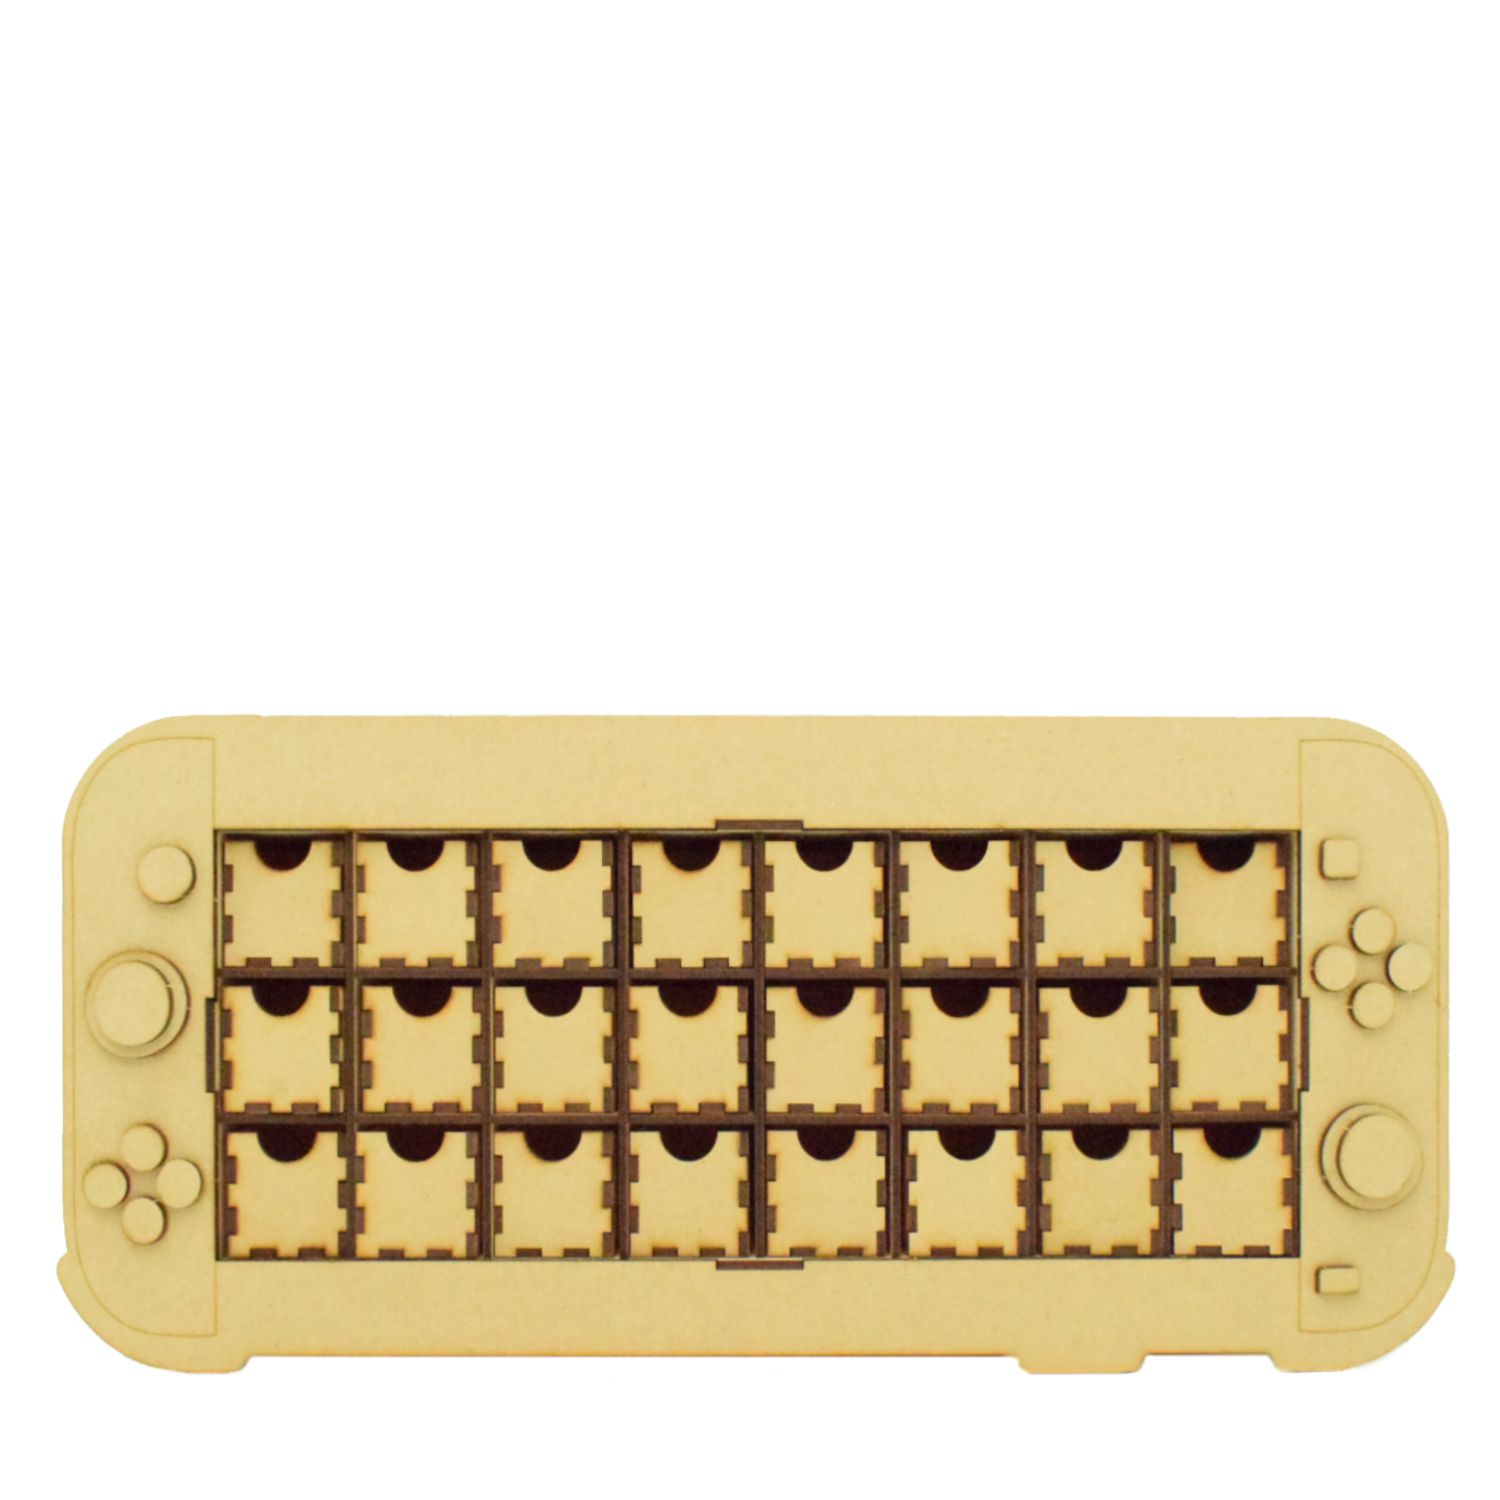
Nintendo Switch Drawer Advent Calender Assembly Instructions
Here we have a step by step photo guide on how to put our advent together
You will need to use wood glue to secure the product together
Pieces you will receive
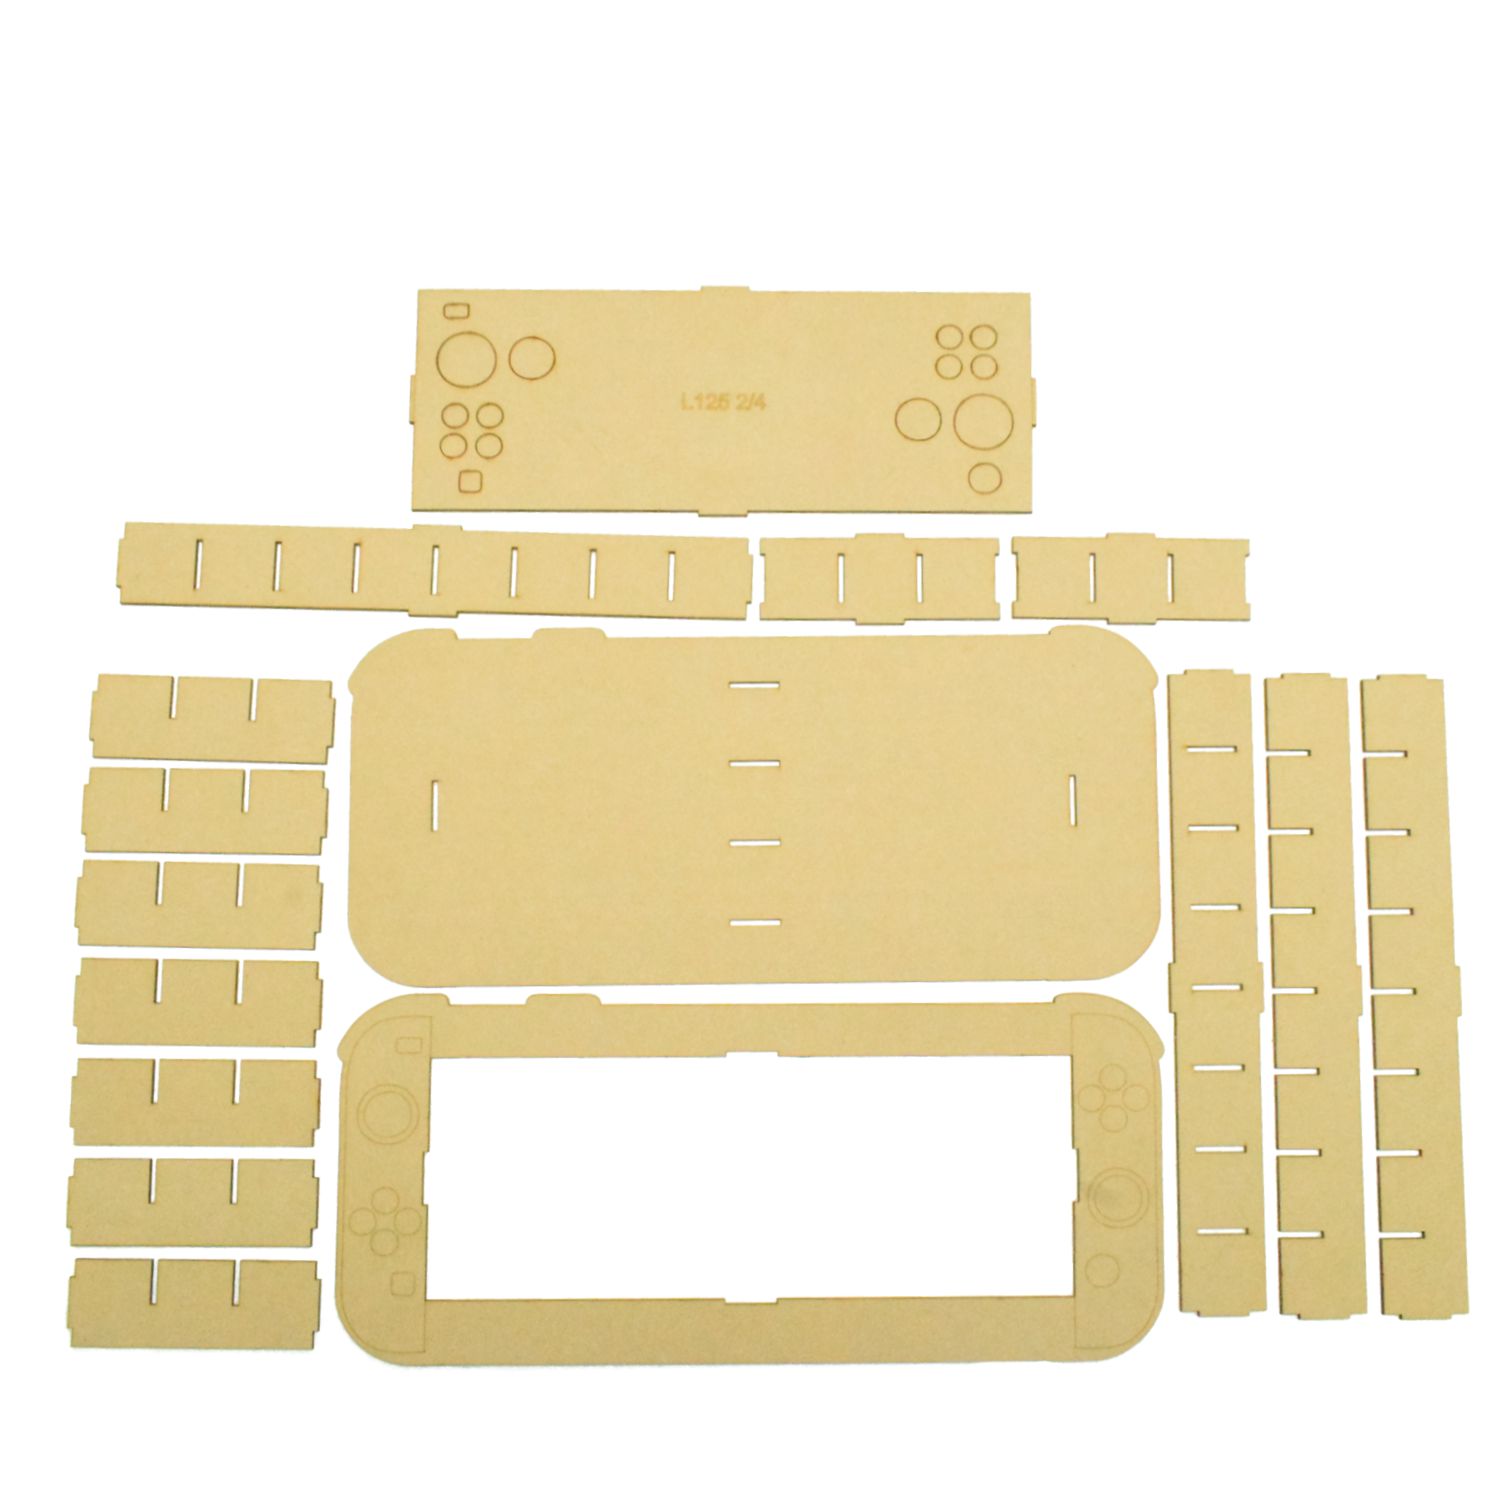
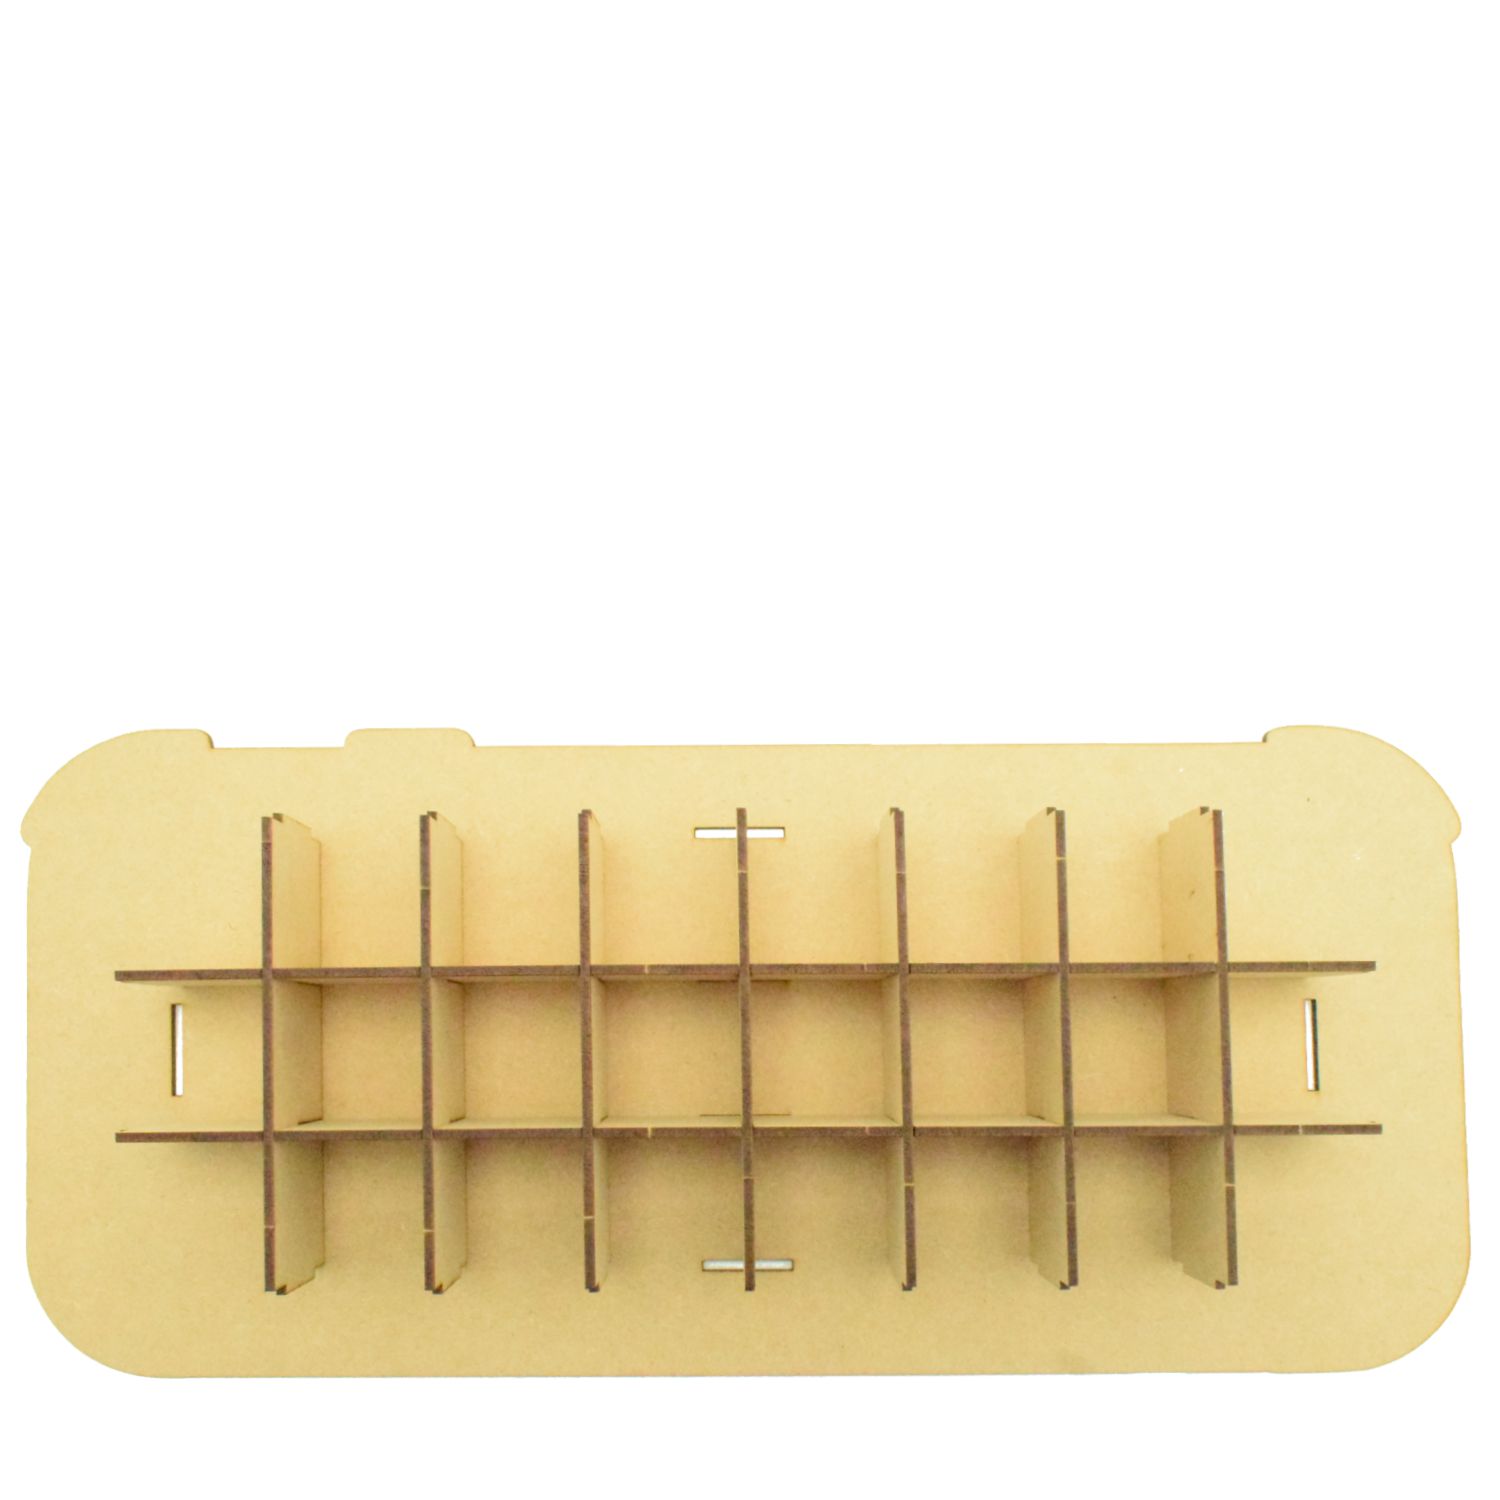
For the first step you will need the following pieces layed out in front of you (see picture below)
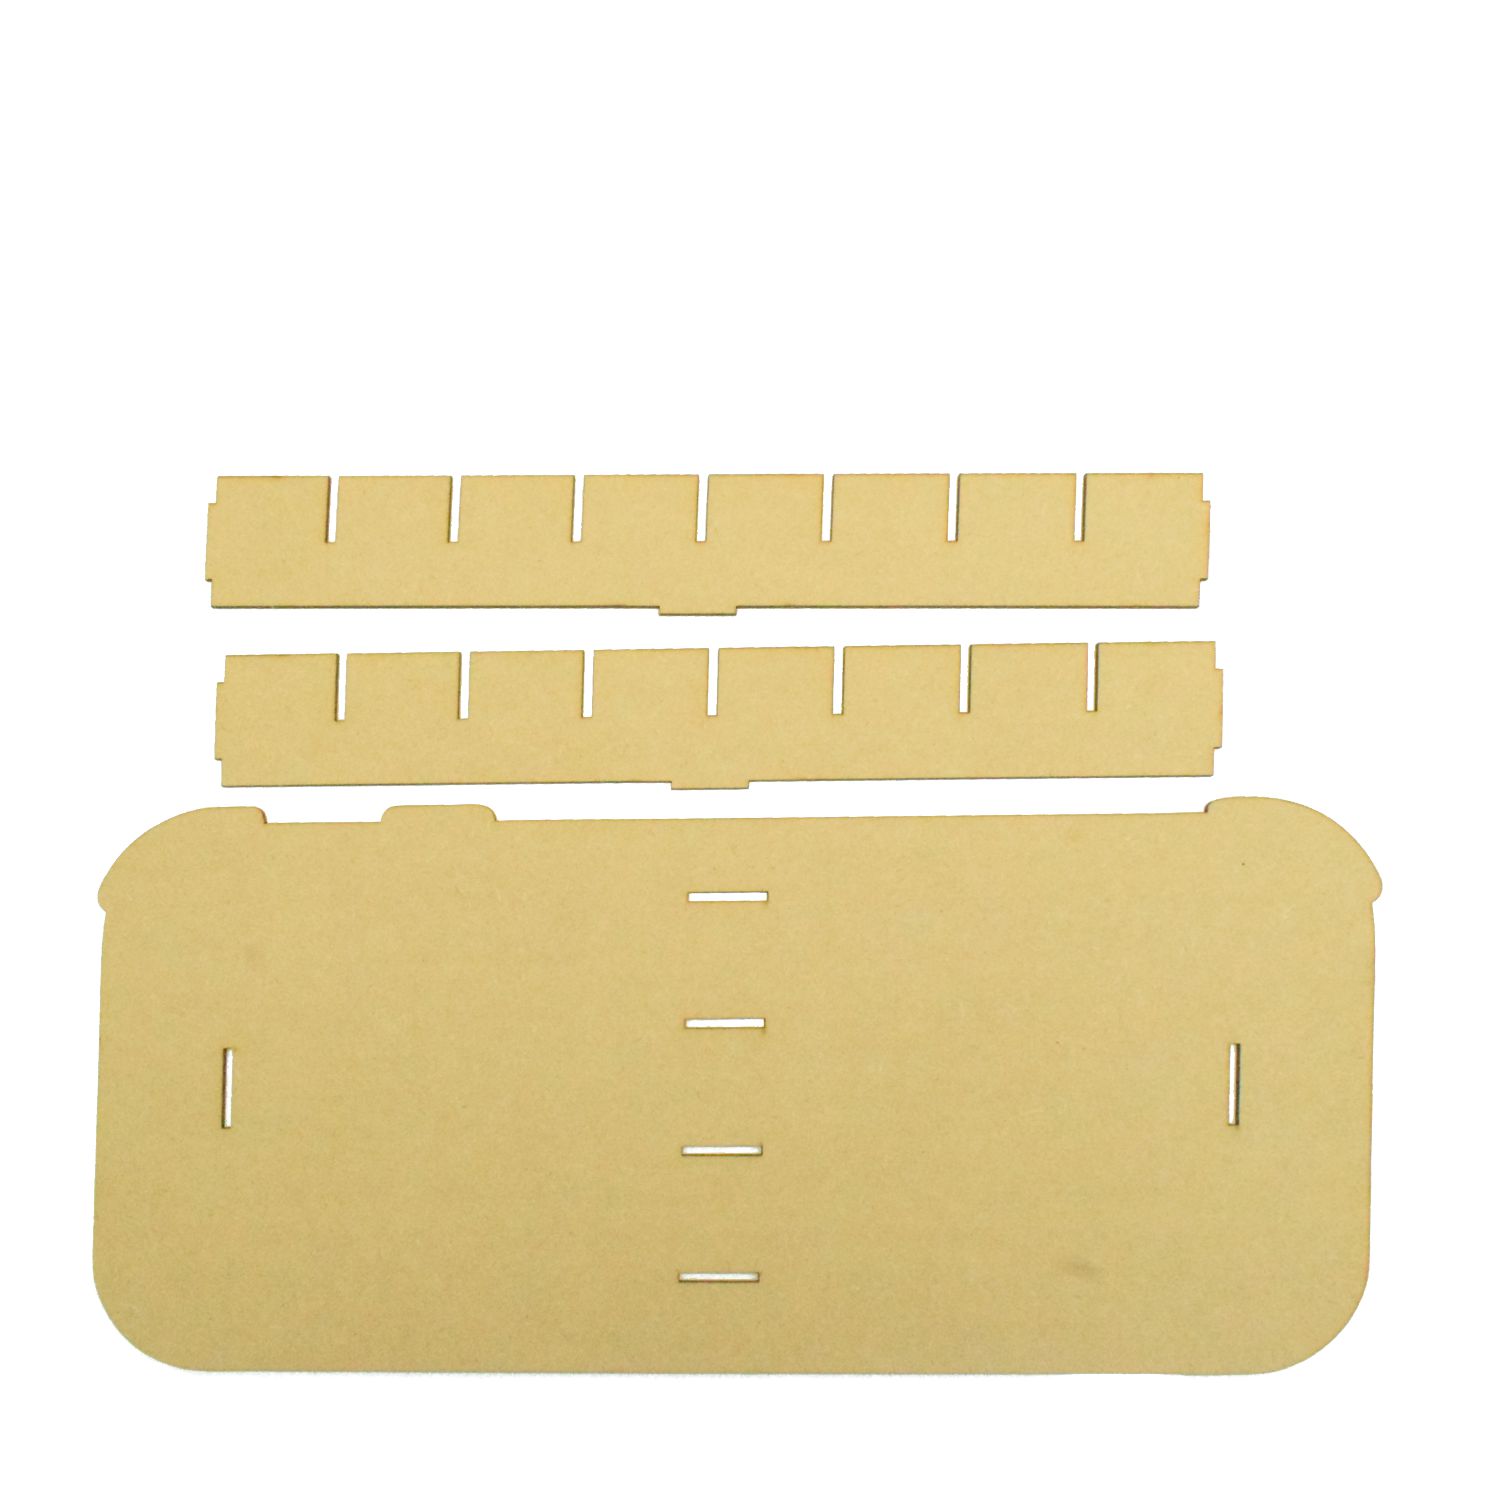
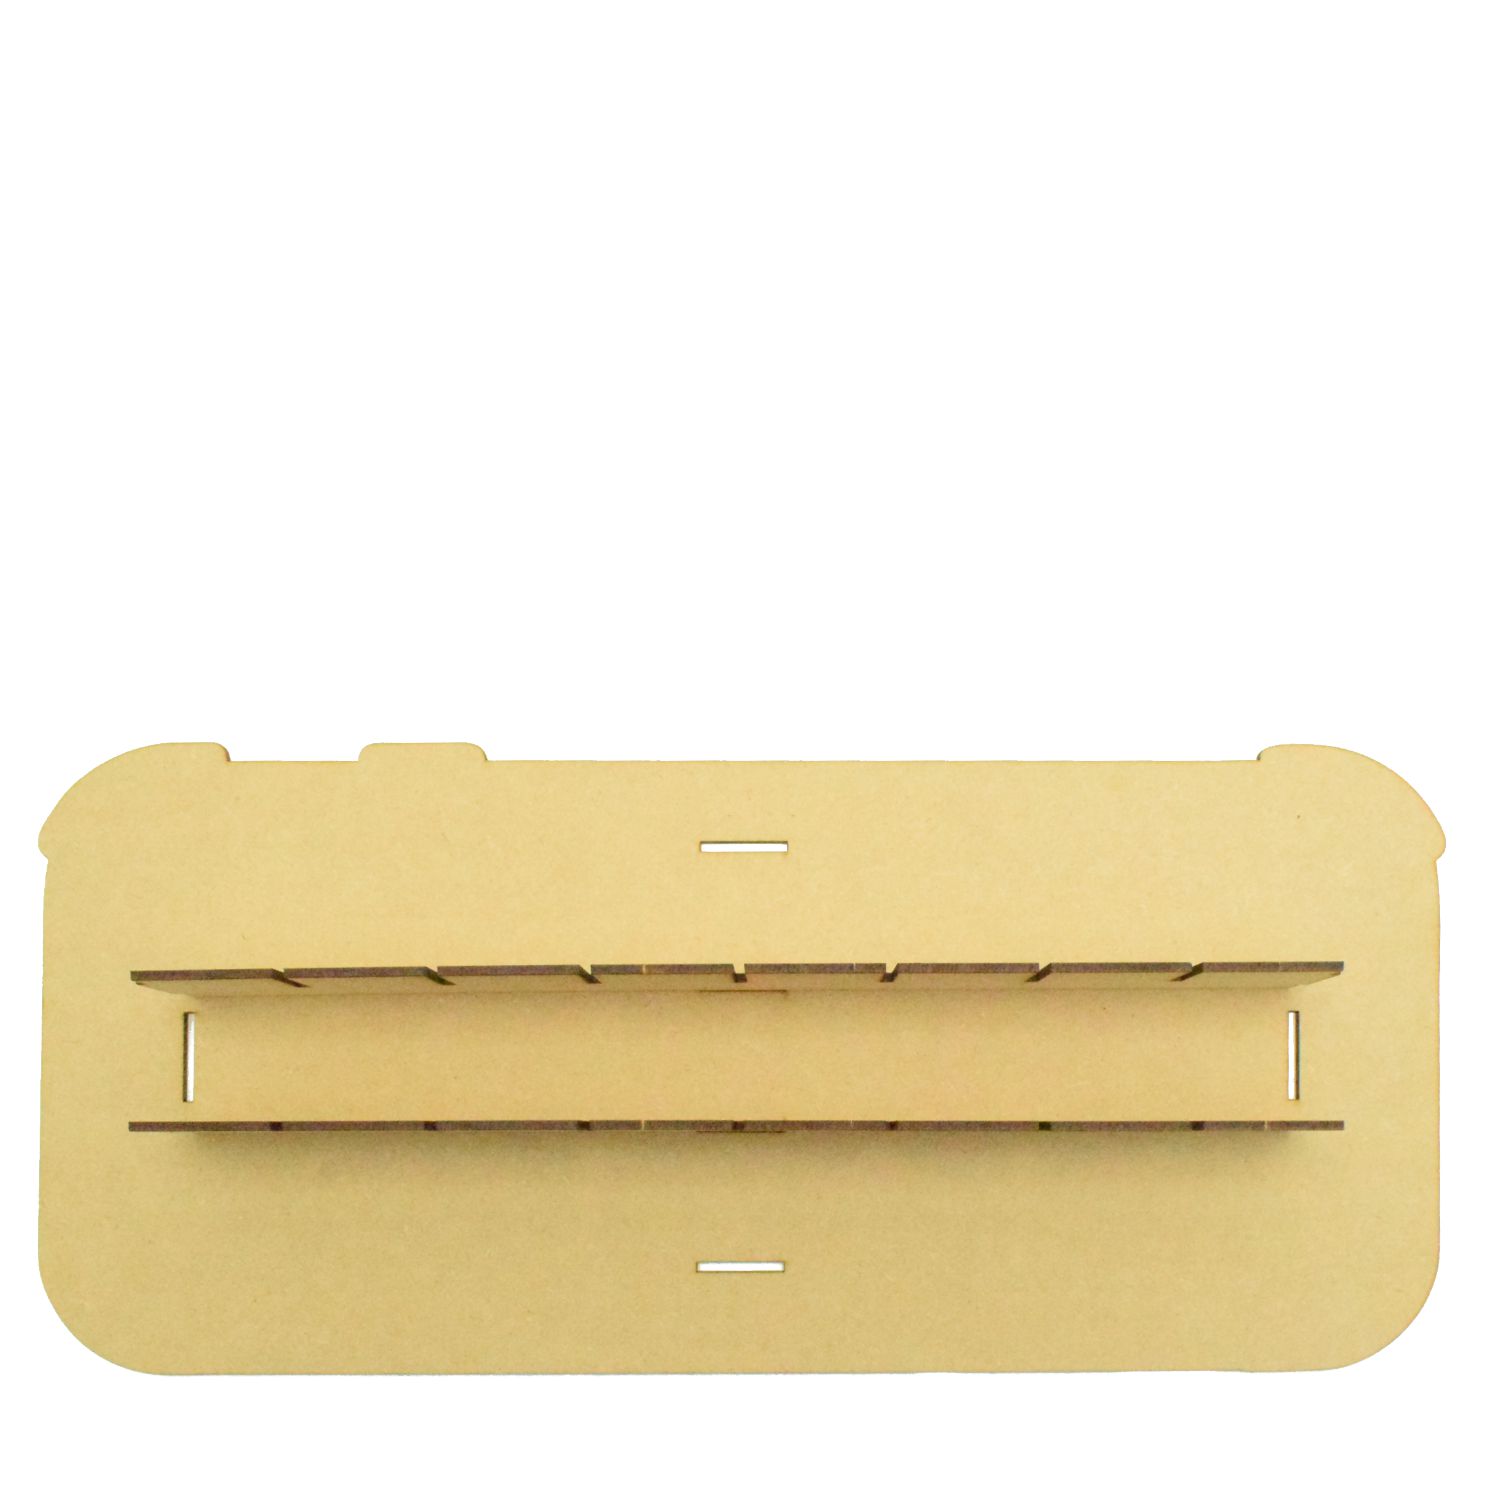
These 2 bars will slot into the middle slots as shown below.
Next you will need the 7 bars to slot on top, these are pictured below.
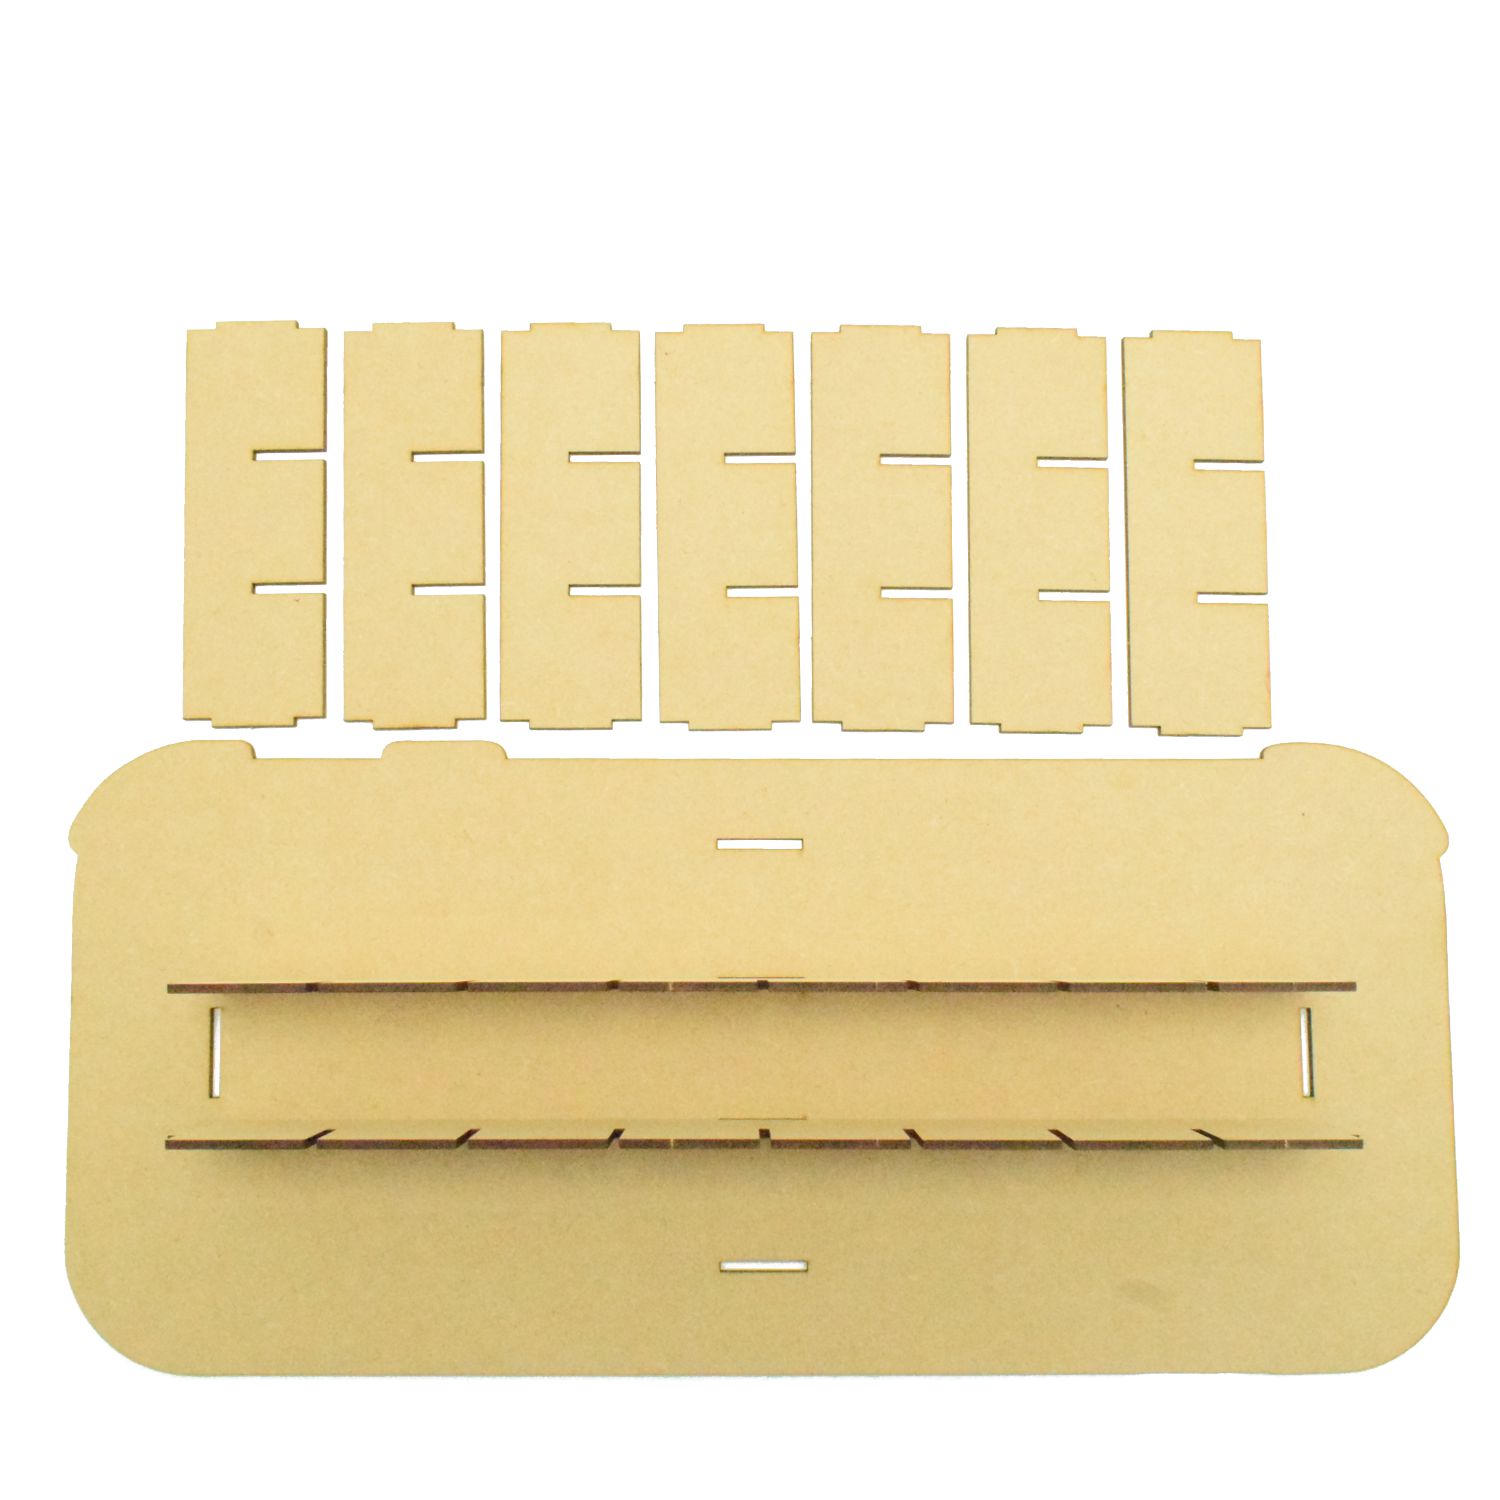
Each of these bars will slot onto the bars already placed.
Push down to make sure these touch the back piece.
Use the image below for reference.
You should be left with 4 bars.
Have these bars layed out in front of you as shown below.
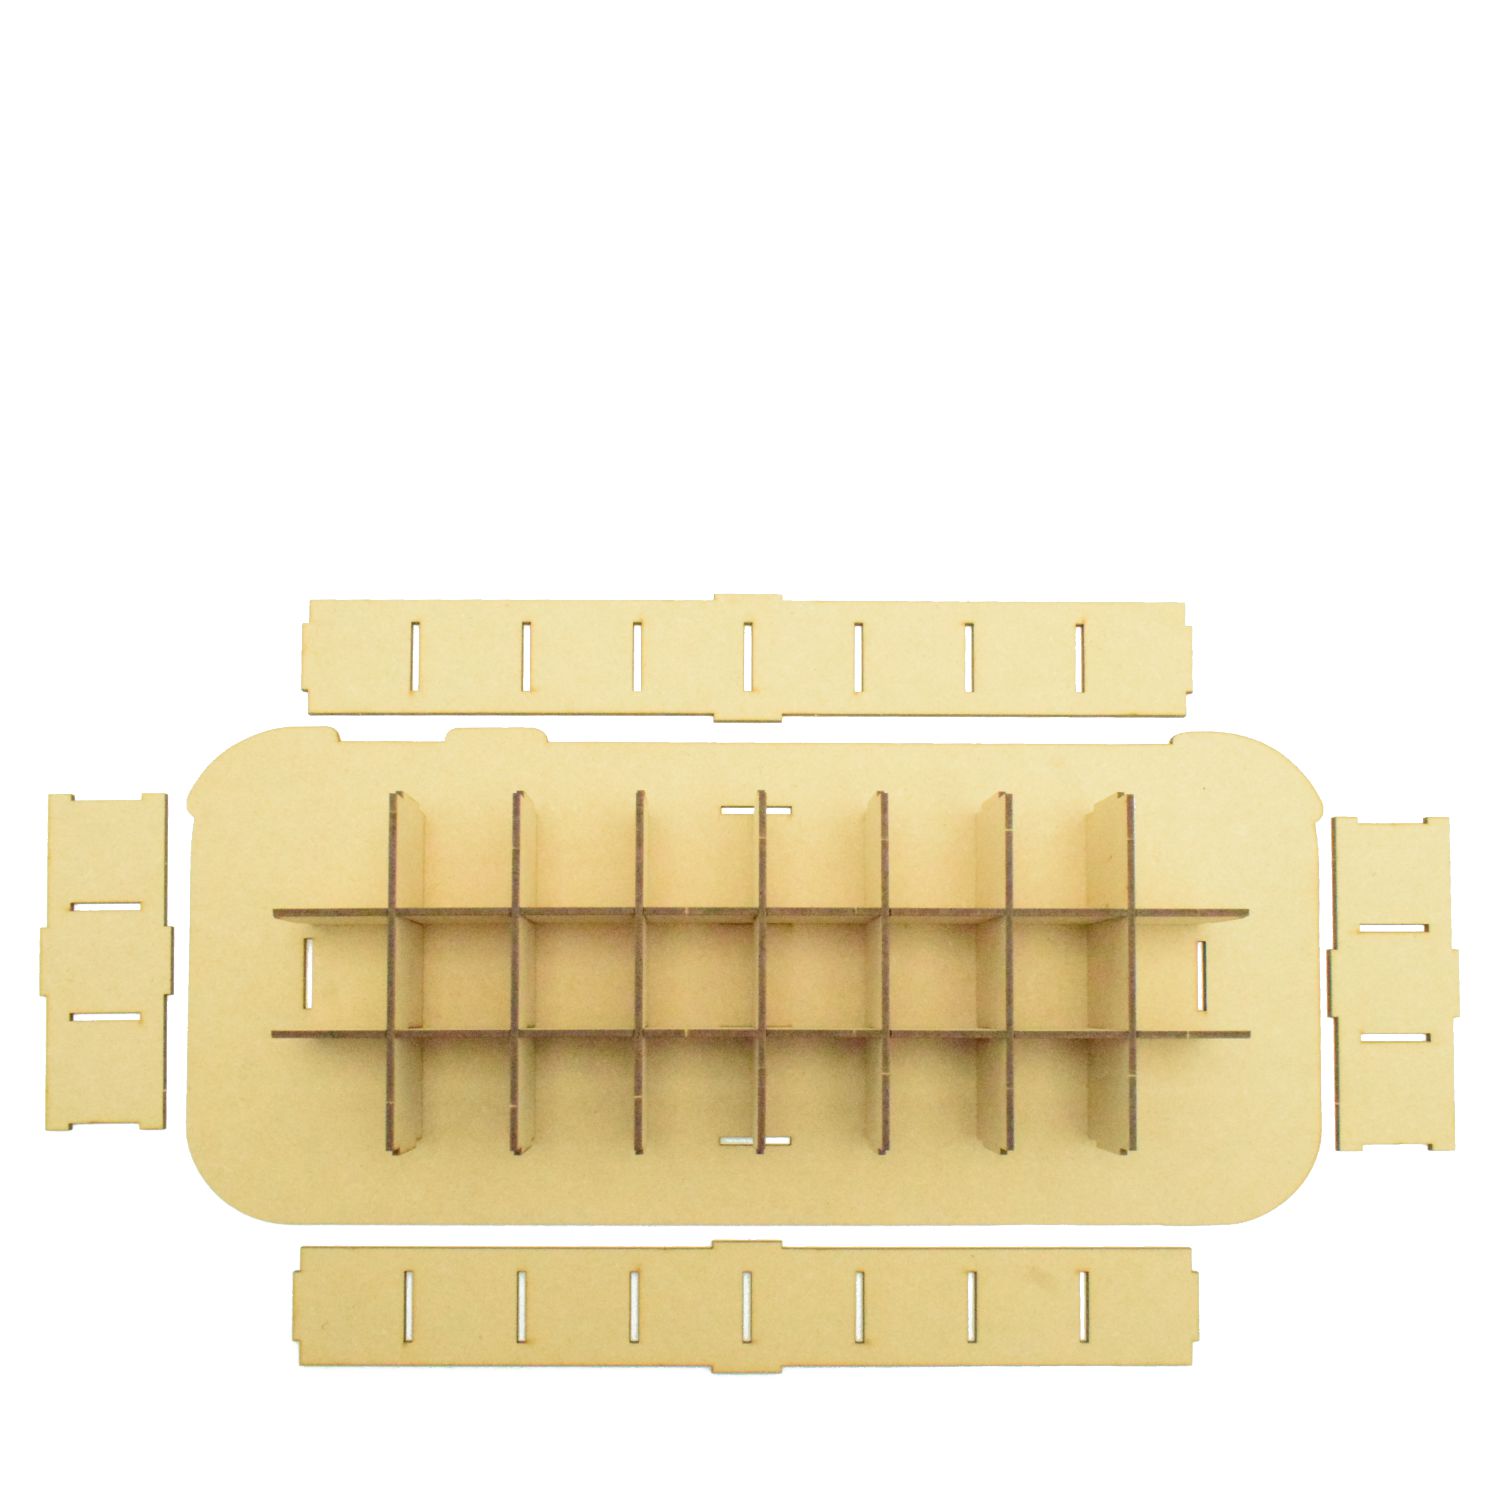
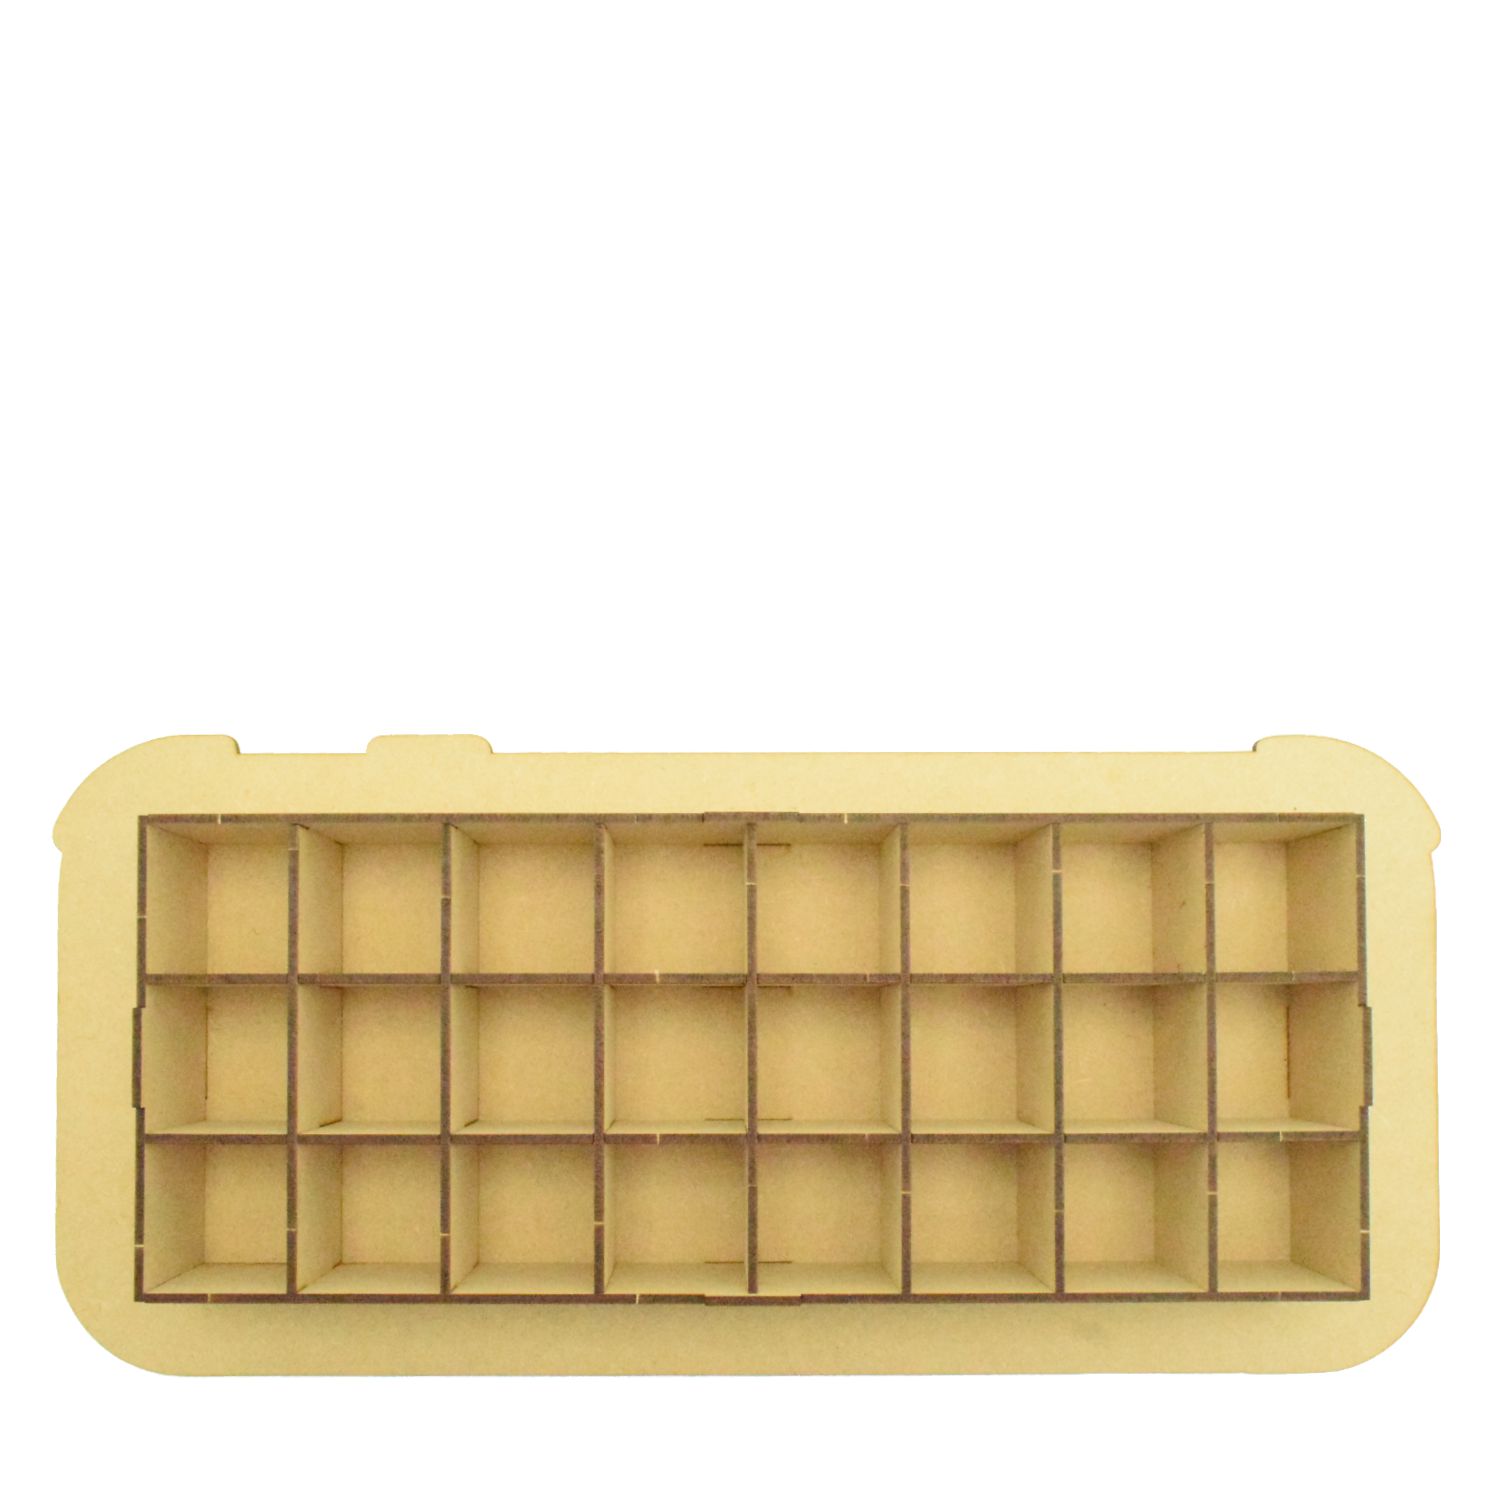
Each of these bars acts as an end to the rows, place each bar in their slot and gently lift the inside bars placed earlier so that the end of them slots into the end bar.
It is these end bars we recommend using glue on once placed as these will support the whole rows structure.
The image below should help with how it should look now.
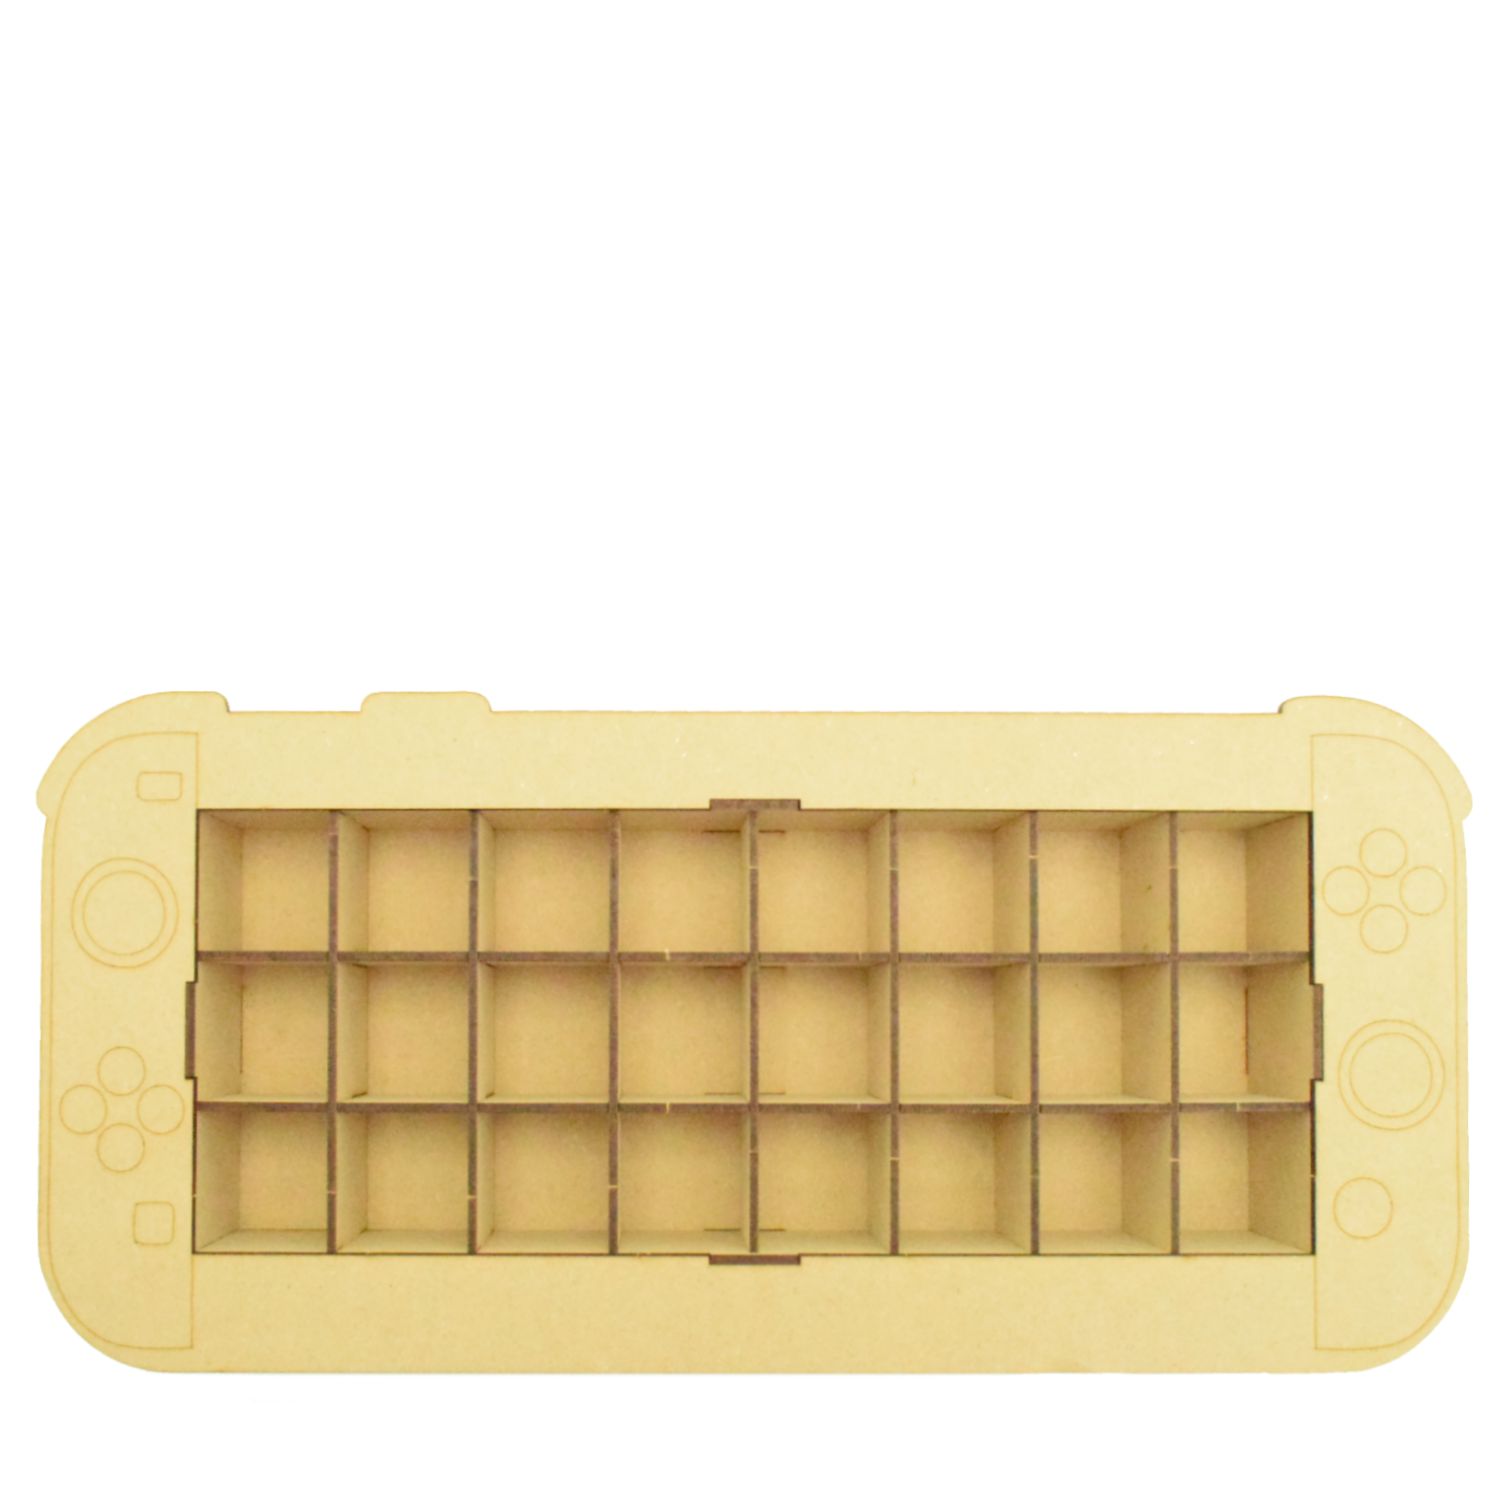
The next piece is the front and this just slots on top using the botches sticking up from the end bars as a guide.
Use image below as reference.
Once glued and secure you can add your draws.
Also you can attach the 3D accessories included for the final product pictured below.
Just push the pieces out and use wood glue to secure, the front has guidelines on where to place each piece.
Next the drawers
You will need the following pieces for each drawer plus wood glue to fix them together
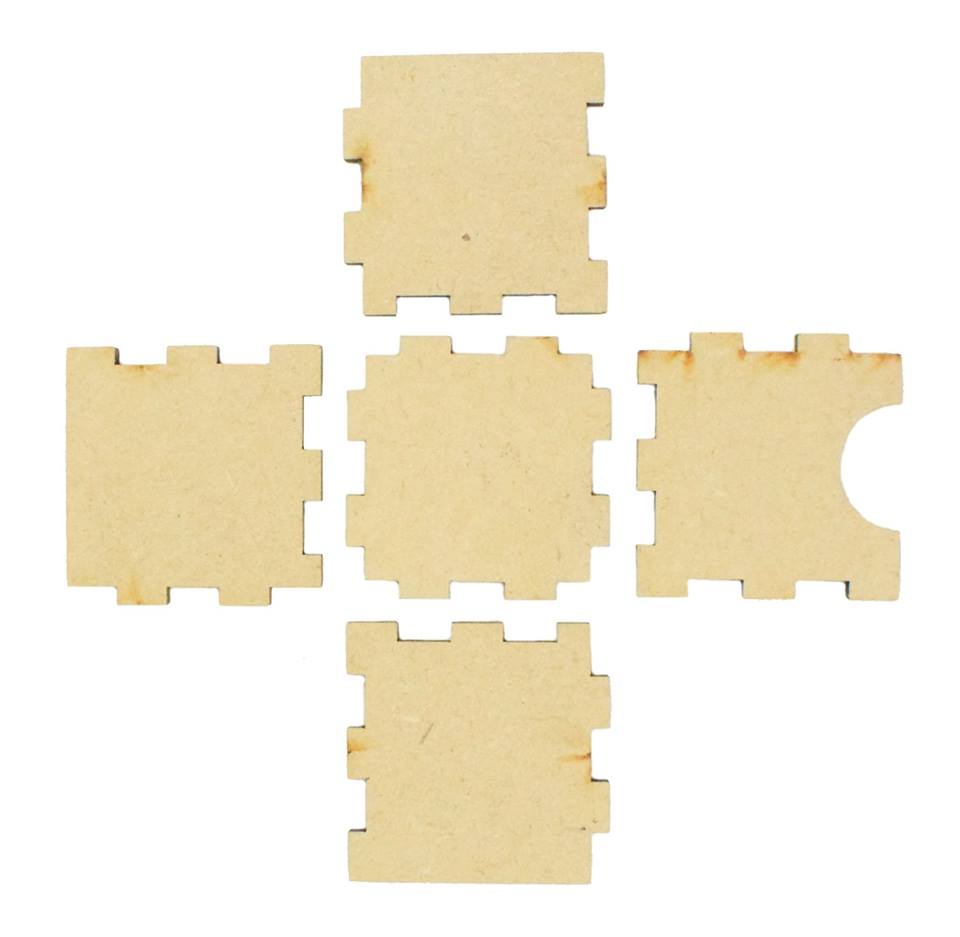
In each corner join you will have a small rectangle and a large square.
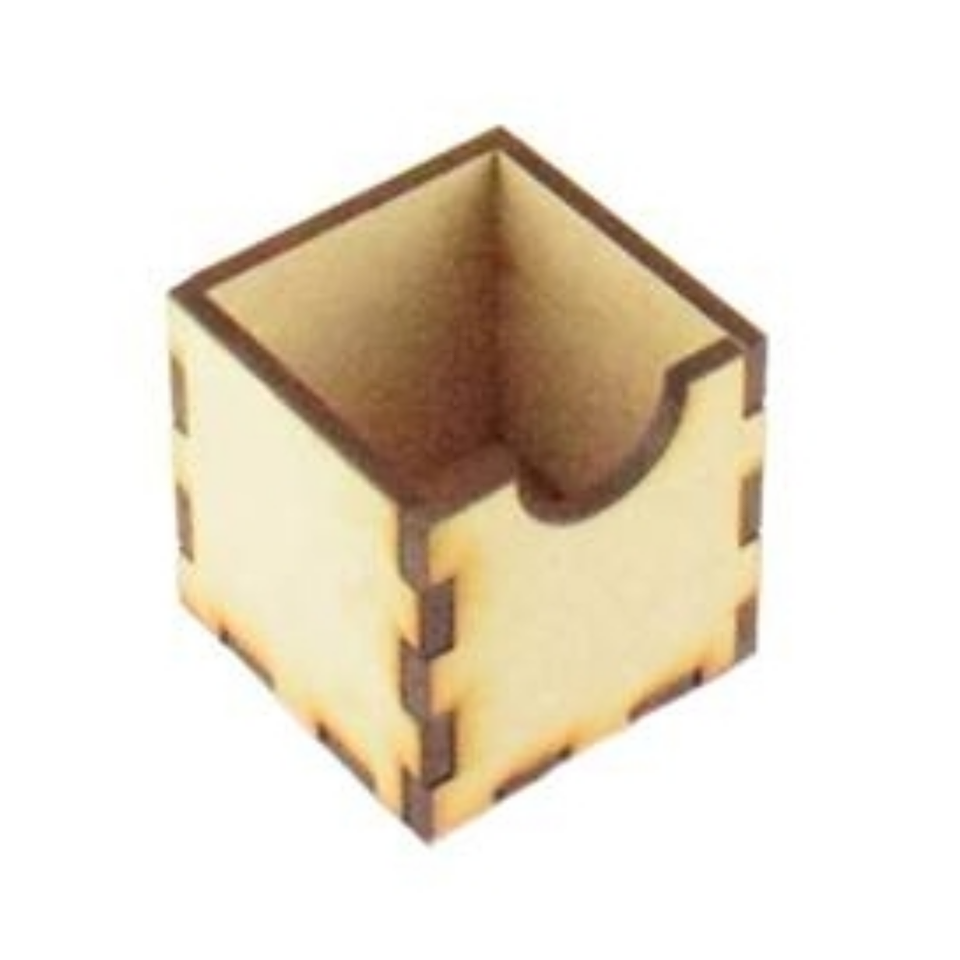
Apply wood glue to all the lower teethed areas on all the sides of each piece
Once done bring all the pieces together to form a box
We also have an instruction video